The answer key is the one part of an OMR exam you cannot skip. Until it is complete, ScanScore will not let you scan a single sheet — and that is deliberate, because a sheet marked against half a key is worse than a sheet not marked at all.
The good news is that typing fifty letters by hand is the slowest of four ways to do it, and most teachers never use it. Here is each one, in the order of how much time it saves.
Where the key lives
Every exam page has an Answer key card near the top. Before you fill it in it reads Not set, it tells you how many sets are still waiting, and the scan button at the bottom of the screen says Set Key First instead of Scan.
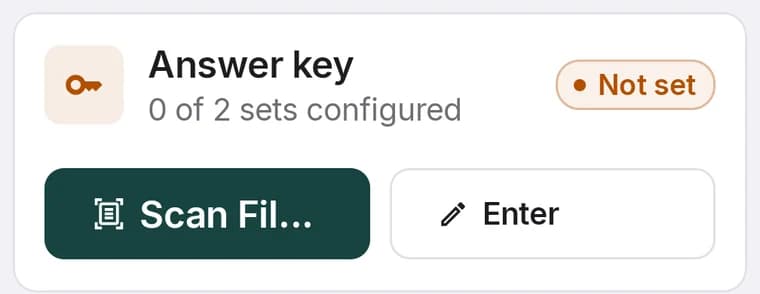
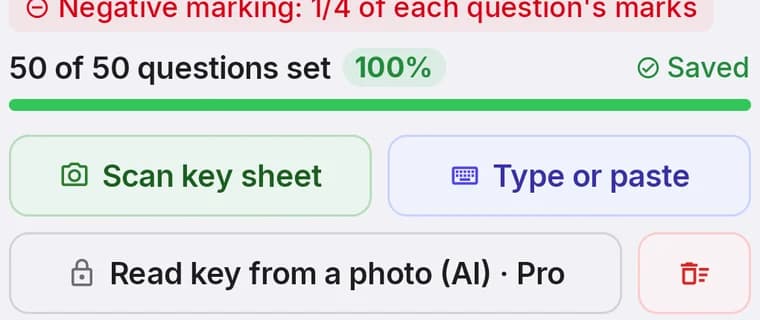
Tap Enter and you land on the key screen. A progress bar across the top counts the questions you have set, an amber banner names the sets still blank, and Jump to blank takes you straight to the first gap. There is no save button to forget — it says Auto-save on and means it.
The four ways to fill it
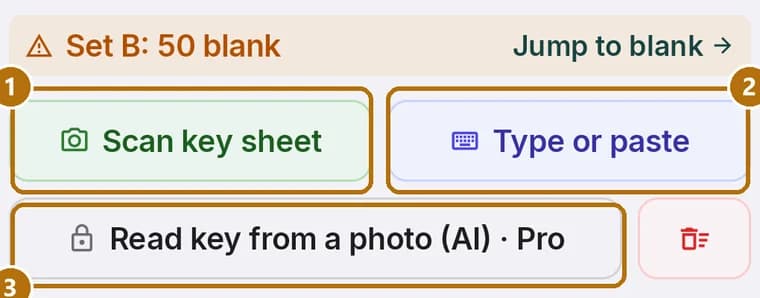
Type or paste 2
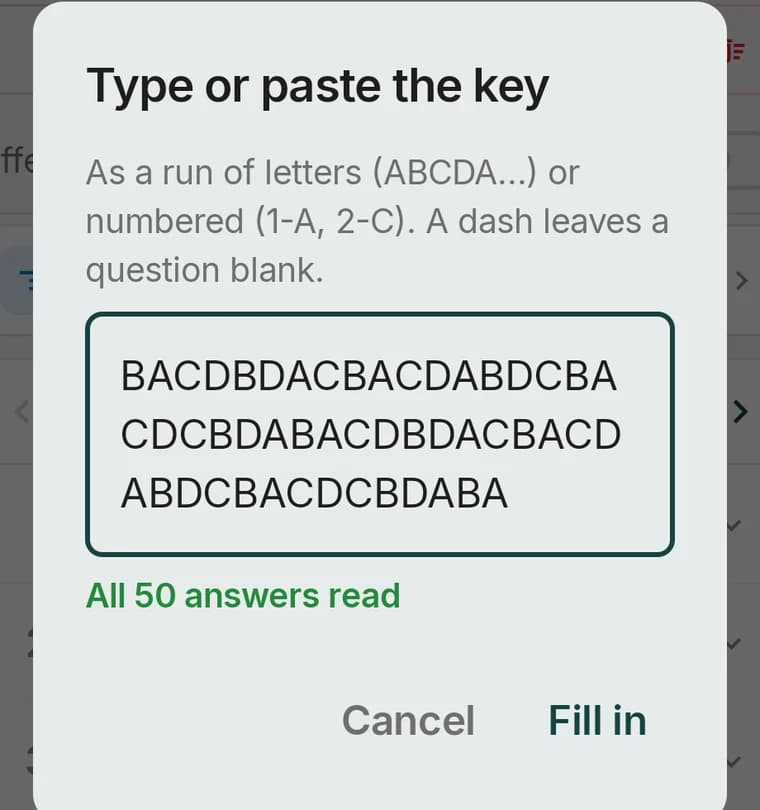
The fastest by a distance. Paste the whole key as a run of letters — BACDBDACBA… — or numbered, as 1-A 2-B 3-C. A dash leaves a question blank. It counts what it read before you commit, so All 50 answers read is your confirmation that nothing was lost in the paste.
Scan a key sheet 1
If you have already filled an OMR sheet in as the master copy, scan it exactly as you would scan a student's, and the bubbles you darkened become the key. This is the natural choice when the subject teacher, not the person at the phone, worked out the answers.
Read a key from a photo 3
Photograph a printed key from a book, a key sheet from a publisher, or your own handwritten page, and the AI reads it into the grid whatever the layout. It needs a Pro plan and uses credits. The answers land in the grid for you to check before they are saved — it is a typist, not an oracle.
Tap the bubbles
Question by question, A to D or A to E. Slow for fifty questions, but it is the one you will use to fix the two answers the other three methods got wrong.
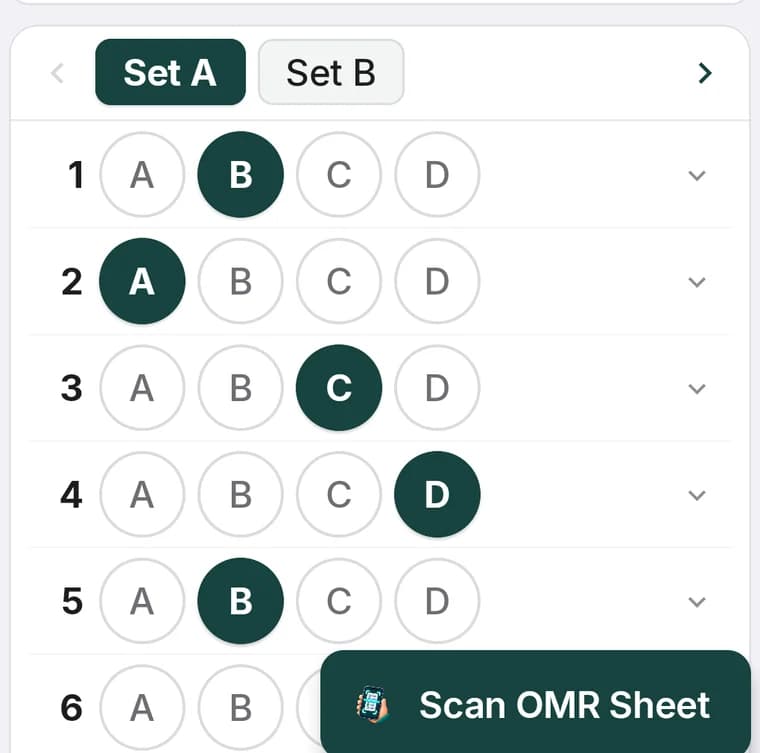
Keys for Set A, B, C…
If your exam prints more than one set, each set is a separate tab on the key screen with its own key — because question 7 in Set A is somewhere else entirely in Set B. The progress bar covers the set you are looking at; the amber banner covers the rest.
How many sets there are is decided when you create the exam, under Multiple Question Sets on the sheet step — up to ten, each getting its own set-code bubble printed on the sheet so the scanner knows which key to mark against. That is separate from the question paper generator, which shuffles one paper into up to four genuinely different versions; see the guide to Set A–D papers for that. Either way, the keys are filled here, one tab each.
Different marks per question
Most papers give every question the same mark, and that is the default. If yours does not — one mark for the first twenty, two for the rest — switch on Different marks per question above the grid and set the figure on each question individually. The total updates as you go, so the paper is always out of a number you can see.
Negative marking is set on the exam itself rather than here, and the key screen reminds you of it in red at the top so you never configure a key having forgotten that wrong answers cost a quarter mark. The negative marking guide covers the usual schemes.
When a question turns out to be wrong
It happens in every exam cell: a question is printed with two correct options, or the key itself is wrong, and you find out after fifty students have already sat the paper. Tap the chevron on that question in the key and you get its topic, its marks, and Remove question.
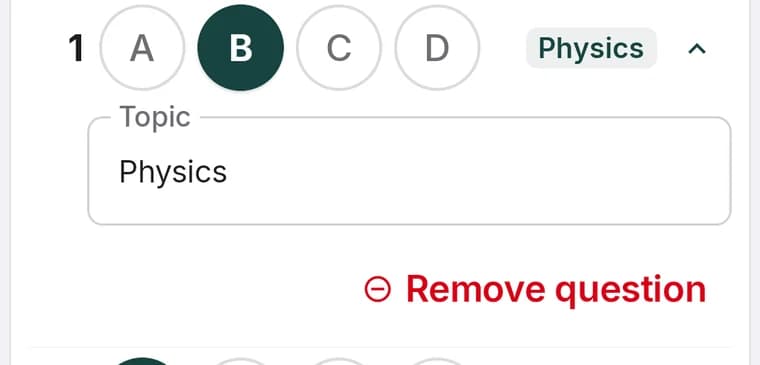
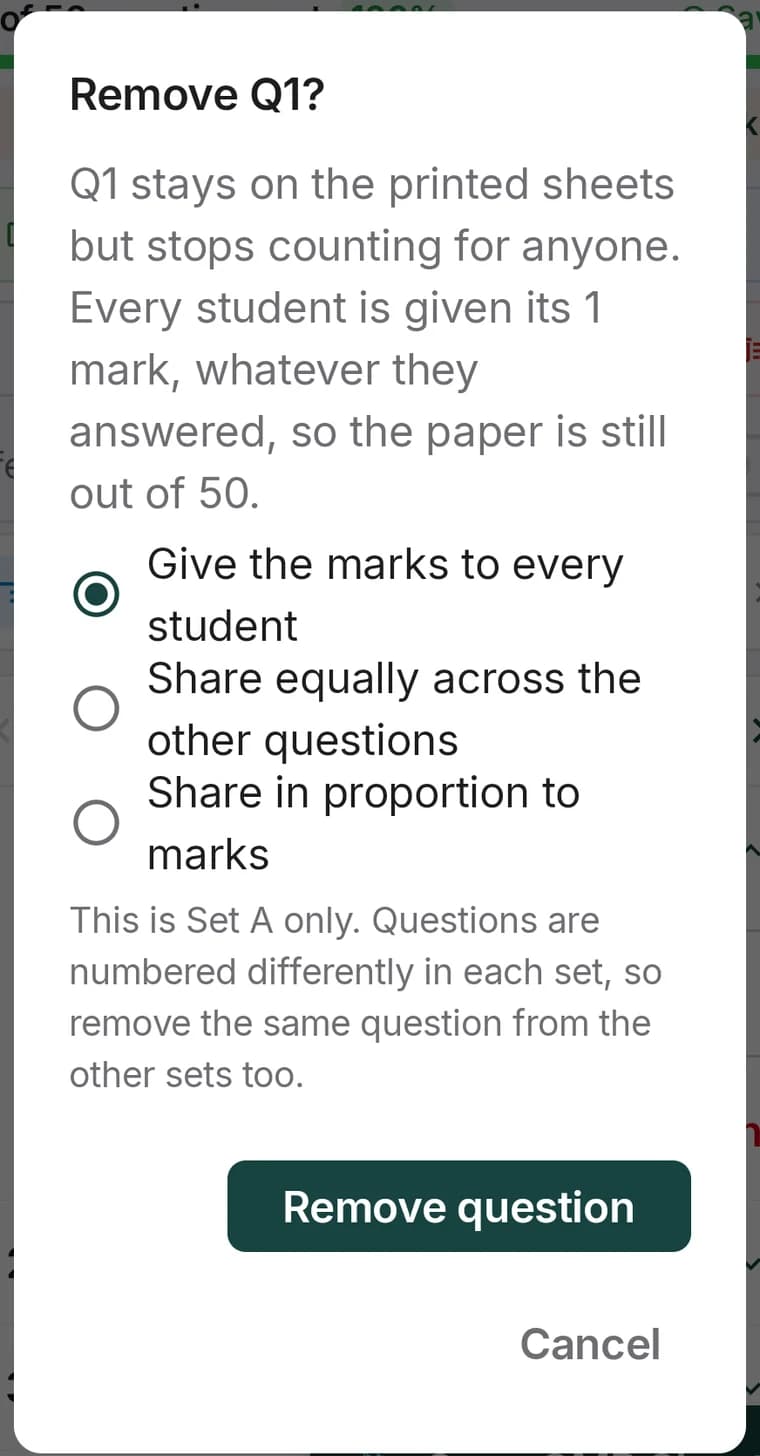
Removing it does not reprint anything. The question stays on the sheets the students already have; it simply stops counting. What you choose is where its marks go:
- Give the marks to every student — everyone gets the mark whatever they answered, and the paper stays out of the same total. The fairest default, and the one most boards use.
- Share equally across the other questions — the paper keeps its total but every remaining question is worth slightly more.
- Share in proportion to marks — the same idea, weighted so a two-mark question absorbs twice as much as a one-mark question.
If you only discover the bad question after marking the whole class, you do not need to find it by hand. The item analysis on the results screen lists the questions the most students missed, with a shortcut straight to removing one — covered in the class result analysis guide.
Giving the key to students
The PDF button at the top of the key screen exports the whole key, every set, as a file you can print or send. Most teachers post it on the class WhatsApp group the moment the paper is collected — students check their own answers before the marks are even out, and the number of “sir, my total is wrong” conversations drops sharply.
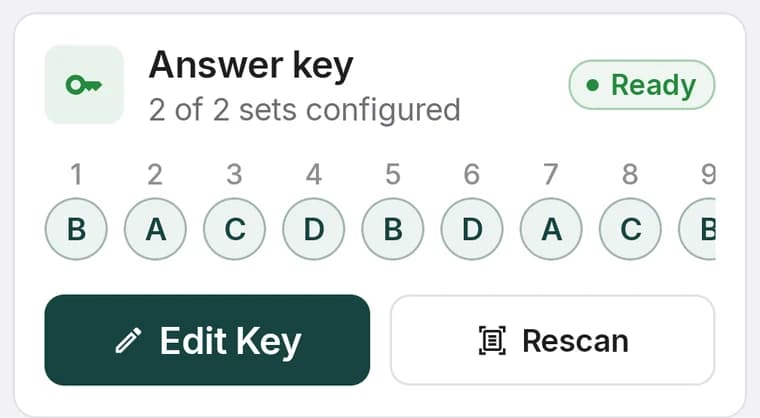
With the key in, the exam page turns green and the scan button goes live. From here it is about four seconds a sheet — and what you see after each one is the subject of the guide to checking a scan before you save it.